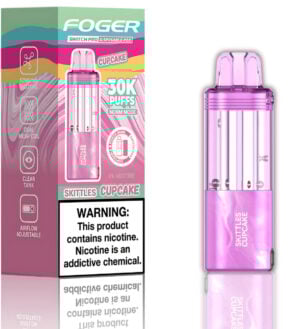
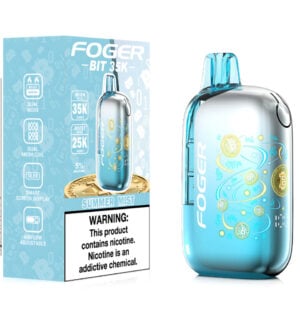
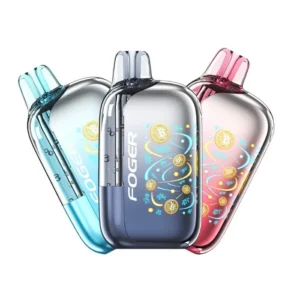
The Foger Switch is one of the more versatile vapes on the market right now. The pod-and-kit system gives you flexibility that most disposables don’t offer, but it also means there’s more to know about keeping the device running properly.
Charging is where a lot of users run into trouble. Either they’re not sure how to charge it correctly, or they notice the battery draining faster than expected, or they pick up the wrong charger and wonder why nothing happens. This guide covers all of it. How to charge the Foger Switch the right way, what to do when something goes wrong, and how to get the most battery life out of every charge.
TLDR:
- Use a USB-C cable with a standard 5V charger. Avoid high-wattage bricks.
- Charge before the battery fully dies. Letting it hit zero repeatedly shortens overall battery life.
- The indicator light tells you the charging status. Red or blinking means charging, solid or off means full.
- Common issues, like not charging or a blinking light, usually have simple fixes.
- Pods and kits are separate components. Only the kit battery charges. Pods are replaced when e-liquid runs out.
Understanding the Foger Switch: Kit vs. Pod
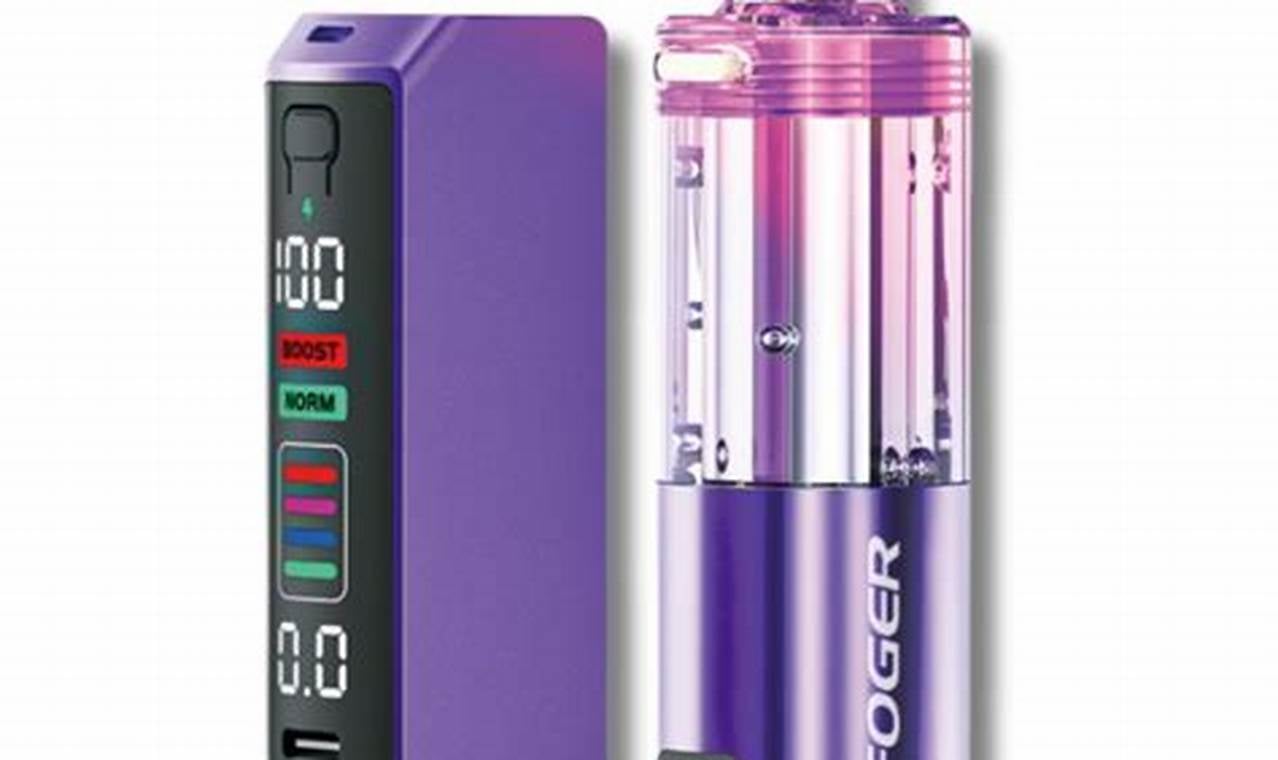
Before getting into charging, it helps to understand how the Foger Switch is built. The system has two parts: the kit and the pod.
The kit is the battery component. It’s the piece you hold, and the piece you charge. It contains the battery, the firing system, and the USB-C port.
The foger switch pod is the flavor component. It snaps into the kit and holds the e-liquid and coil. When the pod runs out of e-liquid, you swap it for a new one. The pod itself does not charge and does not have a battery.
This matters for charging because you are always charging the kit, never the pod. If your device isn’t producing vapor and the kit is fully charged, the issue is the pod, not the battery.
How to Charge the Foger Switch Correctly
What You Need
The Foger Switch charges via USB-C. You need a USB-C cable and a power source. A standard wall adapter rated at 5V works well. Phone chargers from most Android devices in the last few years will work fine.
What you want to avoid is high-wattage charging bricks. Laptop chargers, fast-charge adapters rated above 10W, and USB-C Power Delivery bricks designed for phones and laptops can overheat the small battery inside the kit. Stick with a basic 5V adapter.
Step-by-Step Charging Instructions
- Locate the USB-C port on the bottom of the Foger Switch kit.
- Connect your USB-C cable to the port. It should click in firmly with no wobble.
- Plug the other end into a 5V USB wall adapter or a USB port on a computer.
- Check the indicator light. It should light up to confirm charging has started.
- Wait for the light to signal a full charge. This typically takes 45 minutes to an hour, depending on how depleted the battery was.
- Unplug once charged. You don’t need to leave it connected after the battery is full.
Reading the Indicator Light
The indicator light on the Foger Switch kit tells you what’s happening with the battery. Here’s what the light patterns generally mean:
Light Pattern | What It Means |
Solid red while plugged in | Charging in progress |
Blinking while plugged in | Charging, checking connection |
Light turns off or turns green | Battery is fully charged |
No light when plugged in | Check the cable, port, or adapter |
Blinking when you draw (not plugged in) | Battery is low, needs charging |
Light behavior can vary slightly by production batch. If you’re unsure, check the product packaging or contact Big Mo’s Online Smoke Shop for clarification.
Common Charging Issues and How to Fix Them
The Device Won’t Charge
This is the most common complaint. Nine times out of ten, it comes down to one of three things: the cable, the adapter, or the port.
Try a different cable first. Not all USB-C cables support data and power equally. Some cheap cables only carry power at low levels. A quality cable rated for at least 1A resolves this most of the time.
Try a different adapter. Plug the cable into a different wall brick or a computer USB port. If the device starts charging, the original adapter was the problem.
Check the USB-C port on the kit. Look for lint, debris, or moisture in the charging port. A dry toothpick or a quick blast of compressed air can clear a blocked port.
Let it sit for a few minutes. If the battery is completely drained, some devices need a few minutes of trickle charge before the indicator light activates.
The Battery Drains Too Fast
If you’re charging the kit frequently and it seems to deplete quickly, a few things could be contributing.
Cold temperatures reduce battery output. Lithium batteries lose capacity in cold weather. If you’re vaping outside in low temperatures, shorter battery life is expected.
Heavy use draws more power. Long, frequent draws consume battery faster than short, spaced-out puffs. If your usage has increased, the battery will show it.
Battery degradation over time. All rechargeable batteries lose capacity with repeated charge cycles. A kit that’s been charged hundreds of times will hold less charge than a new one.
A pod with a worn coil can increase draw. Old coils sometimes create resistance issues that make the battery work harder. Swapping to a fresh pod can help.
The Light Blinks But Nothing Happens
A blinking light when you’re trying to draw, not while plugged in, usually means the battery is too low to fire. Plug it in immediately and let it charge for at least 15 to 20 minutes before trying again.
If the light blinks while plugged in and the device never seems to reach a full charge, try a different cable and adapter combination. If the problem persists, the battery may have degraded past the point of holding a reliable charge.
The Device Gets Warm While Charging
Some warmth during charging is normal. The kit contains a small lithium battery, so a small amount of heat is expected.
Noticeable heat that makes the device uncomfortable to touch is a warning sign. Unplug it immediately. This usually means the adapter is pushing too much voltage. Switch to a standard 5V adapter and try again. Do not continue using a charger that causes excessive heat.
How to Make the Foger Switch Battery Last Longer
A few habits make a real difference in how long the battery stays reliable over the life of the kit.
Charge Before It Hits Zero
Repeatedly draining a lithium battery to zero before charging is one of the fastest ways to reduce its lifespan. It’s better to charge when the battery reaches around 20 to 30 percent. This keeps the battery in a healthier range and extends its total cycle count.
The indicator light blinking while you draw is your signal to charge soon. Don’t wait until the device stops firing entirely.
Don’t Leave It Plugged In Overnight
The Foger Switch kit doesn’t have advanced overcharge protection the way modern smartphones do. Leaving it plugged in for hours past a full charge can stress the battery over time. Once the light signals a full charge, unplug it.
An hour on the charger is usually enough. Charging while you shower, eat, or watch a show and then unplugging when you’re done is a simple habit that helps.
Store It at Room Temperature
Heat and cold both affect lithium battery health. Don’t leave the kit in a hot car or a freezing jacket pocket for extended periods. Room temperature storage, between 60 and 80 degrees Fahrenheit, is ideal.
Use the Right Charger Every Time
This one is worth repeating. A standard 5V USB-C charger is all the Foger Switch kit needs. High-wattage fast chargers don’t speed up the charging significantly for a battery this size, and they add unnecessary heat stress. Keep a basic cable and adapter with your kit and use it consistently.
Pod and Kit Compatibility: What You Need to Know
The Foger Switch system is designed around pod and kit compatibility. Not every pod works with every kit configuration, and buying the wrong pod is a frustrating and avoidable mistake.
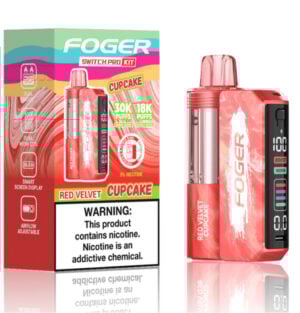
Foger Switch Pod vs. Foger Switch Pro Pod
Foger offers different pod variants for the Switch system. The standard Switch pod and the Switch Pro Pod are not always interchangeable. Check that the pod you’re buying is designed for the specific kit version you own.
The packaging will list compatible devices. When in doubt, purchase pods and kits together from the same product listing or ask before buying.
Signs You Have the Wrong Pod
- The pod won’t click into place or sits loosely in the kit.
- The device fires but produces no vapor despite a fresh pod with e-liquid.
- The flavor tastes burnt immediately on a brand-new pod.
If any of these happen with a new pod, compatibility is the first thing to check before assuming the kit has a problem.
Frequently Asked Questions
Can I use any USB-C cable to charge the Foger Switch?
You can use most standard USB-C cables, but quality matters. A cable rated for at least 1A of current works reliably. Cheap cables with thin wiring can charge slowly or not at all. The cable that comes with most Android phones works well.
How long does a full charge take?
A fully depleted Foger Switch kit takes roughly 45 minutes to an hour to reach a full charge with a standard 5V adapter. Starting the charge before it’s completely drained reduces that time.
Can I vape while the kit is charging?
It’s not recommended. Charging and drawing at the same time puts simultaneous demand on the battery, which generates extra heat and accelerates wear. Charge it, let it finish, then use it.
Why does my Foger Switch taste burnt even with a new pod?
A burnt taste on a fresh pod usually comes from one of two things: priming the coil too quickly, or a compatibility issue between the pod and kit. Give a new pod 5 to 10 minutes after inserting it before drawing. This lets the e-liquid saturate the coil. If the burnt taste persists, check that you have the correct pod for your kit model.
How do I know when the pod needs to be replaced?
The e-liquid window on most Foger pods lets you see the remaining liquid level. When it’s low or empty, replace the pod. You may also notice a drop in vapor production, a muted flavor, or a dry, slightly harsh hit as signs the pod is running out.
Is it normal for the kit to feel warm after charging?
Mild warmth is normal. The kit should feel slightly warm to the touch, not hot. If it feels uncomfortably hot or you see any swelling, stop using that adapter immediately and try a different charger.
Final Thoughts
The Foger Switch is a solid system. The pod-and-kit design gives you more flexibility than a standard disposable, and the USB-C charging means you’re never stuck hunting for a proprietary cable.
Getting the most out of it comes down to a few simple habits. Use the right charger. Charge before the battery bottoms out. Know the difference between a kit issue and a pod issue. Follow those basics, and the device will run reliably for as long as you have pods to put in it.
Shop Foger Switch kits, pods, and accessories at Big Mo’s Online Smoke Shop.
-
 Rated 5.00 out of 5$18.99Select options This product has multiple variants. The options may be chosen on the product page19 point item
 -
Rated 4.96 out of 5
$24.99Original price was: $24.99.$18.99Current price is: $18.99.Select options This product has multiple variants. The options may be chosen on the product page19 point item -
Rated 4.90 out of 5
$27.99Original price was: $27.99.$23.99Current price is: $23.99.Select options This product has multiple variants. The options may be chosen on the product page24 point item